If you’re an audio enthusiast, music producer, or simply someone who enjoys high-quality sound, you may be familiar with open back headphones.
These headphones are known for their spacious and natural sound reproduction, but they do come with a drawback – sound leakage.
If you’re looking to enjoy your music without disturbing those around you or want to minimize external noise interference, converting open back headphones to closed back might be the solution you’re looking for.
In this post, we’ll explore four easy methods to make your open back headphones closed and enhance your listening experience.
Why Make Open Back Headphones Closed: 5 Reasons
Improved Noise Isolation:
Closed back headphones come with better noise isolation, thanks to their design that effectively blocks out ambient noise.
This allows you to fully immerse yourself in your audio experience without any distractions.
Reduced Sound Leakage:
Sound leakage can be quite bothersome, especially in quiet environments.
Closed back headphones prevent sound from spilling out, ensuring a private listening experience for you while respecting the peace of those around you.
Enhanced Bass Response:
Closed back headphones are known for their robust low-end response, delivering a rich and powerful bass that adds depth and excitement to your music.
If you’re a fan of bass-heavy genres, these headphones are perfect for you.
Great for Recording:
For those involved in audio production or recording, closed back headphones are the go-to choice.
Their design prevents sound leakage, minimizing the risk of unwanted audio bleeding into microphones and ensuring clean and accurate recordings.
Portability and Versatility:
Closed back headphones excel in versatility and portability.
With their effective noise isolation and minimal sound leakage, they are ideal for use in various environments, such as public transportation, offices, or libraries. Enjoy your music or audio content without disturbing others around you.
Method 1: Using Ear Pads
One of the simplest ways to transform open back headphones into closed back is by replacing the existing ear pads with closed back alternatives.
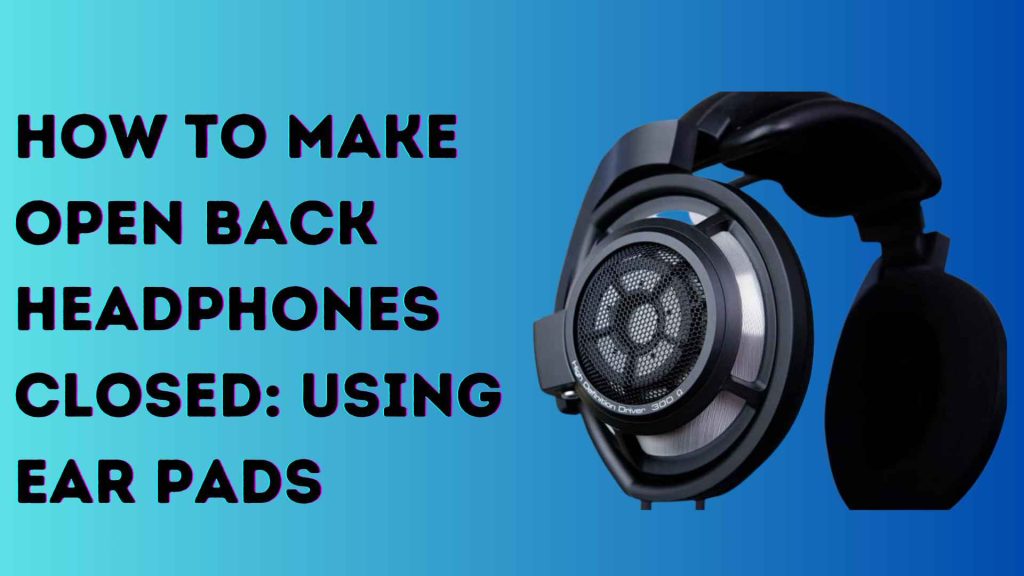
This method involves finding compatible ear pads that provide better isolation and fit snugly around your ears.
While this approach can improve sound isolation, it’s important to note that it may slightly alter the sound signature of the headphones.
Step-by-Step Guide for Using Ear Pads
- Identify Compatible Ear Pads: The first step is to identify ear pads that are compatible with your specific open back headphones. These can generally be found online or in specialized audio equipment stores.
- Purchase the Ear Pads: Once you’ve identified the right ear pads, purchase them. Make sure to check reviews and quality before buying.
- Remove the Existing Ear Pads: Carefully remove the existing ear pads from the headphones. This process usually involves gently pulling the ear pads from the headphone cups, but for specific models, you might need to unlock the pads.
- Install the New Ear Pads: Carefully place the new ear pads on the headphone cups. Ensure they are secure and fit snugly.
- Test the Sound: Finally, test the new sound isolation and the possible changes in sound signature by playing some music.
Remember, while this method is simple and cost-effective, it may slightly alter the sound signature of your headphones.
Therefore, it’s recommended to use premium quality closed-back ear pads to retain the original sound quality as much as possible.
Method 2: DIY Enclosures
For the more hands-on individuals, creating custom enclosures for your open back headphones can be a rewarding project.
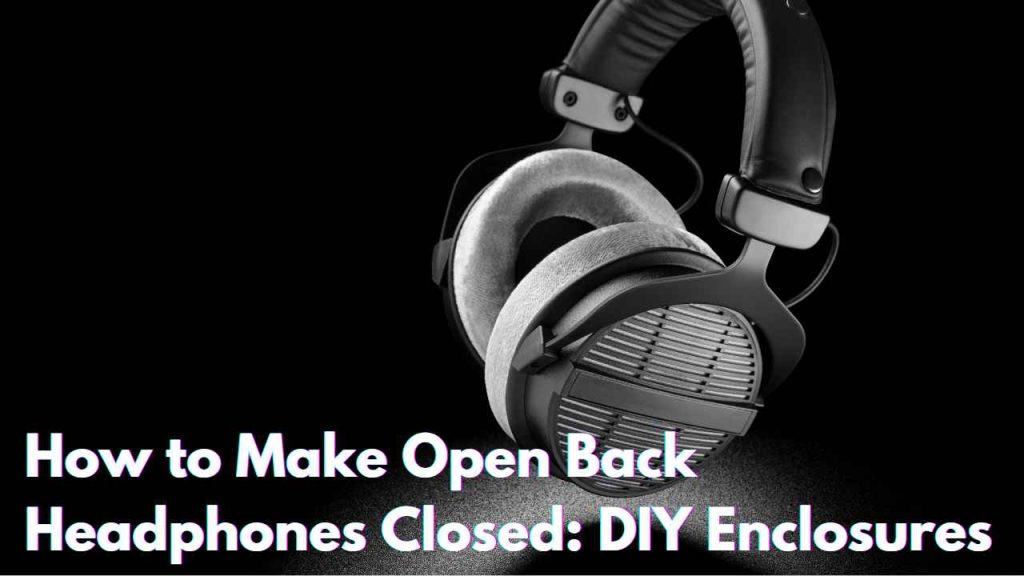
This method requires a bit of DIY know-how and access to materials like acoustic foam, wood, or plastic.
By enclosing the back of the headphones, you can effectively block sound leakage and create a closed back effect.
Keep in mind that this method may require some trial and error to achieve the desired acoustic results.
Step-by-Step Guide for DIY Enclosures
- Gather Materials: You will need a material to serve as an enclosure, such as a thin, flexible sheet of wood or plastic, and some acoustic foam. You will also need a cutting tool, adhesive, and, ideally, a measuring tool.
- Measure and Cut Enclosure Material: Carefully measure the size of the outer shell of your headphone cups. Cut out two pieces from your chosen material that will fit over them.
- Cut Acoustic Foam: Cut pieces of the acoustic foam to attach to the inside of your newly created enclosures. The foam will help absorb vibrations and reduce sound leakage.
- Attach Foam to Enclosures: Apply adhesive to one side of the cut-out foam pieces and stick them to the inside of the enclosures. Allow the adhesive to dry fully.
- Attach Enclosures to Headphones: Once the adhesive has dried, apply more adhesive to the outer rim of the headphone cups. Attach your enclosed pieces (foam side facing inwards) and apply pressure until the adhesive sets.
- Test Sound Quality: Lastly, test your newly closed back headphones. Play some music and observe the changes in sound and noise isolation.
Be prepared that this method might alter the sound considerably. Experiment with different enclosure materials and foam thicknesses to achieve your desired sound.
Method 3: Modifying the Ear Cups
Modifying the ear cups themselves is another approach to convert open back headphones to closed back.
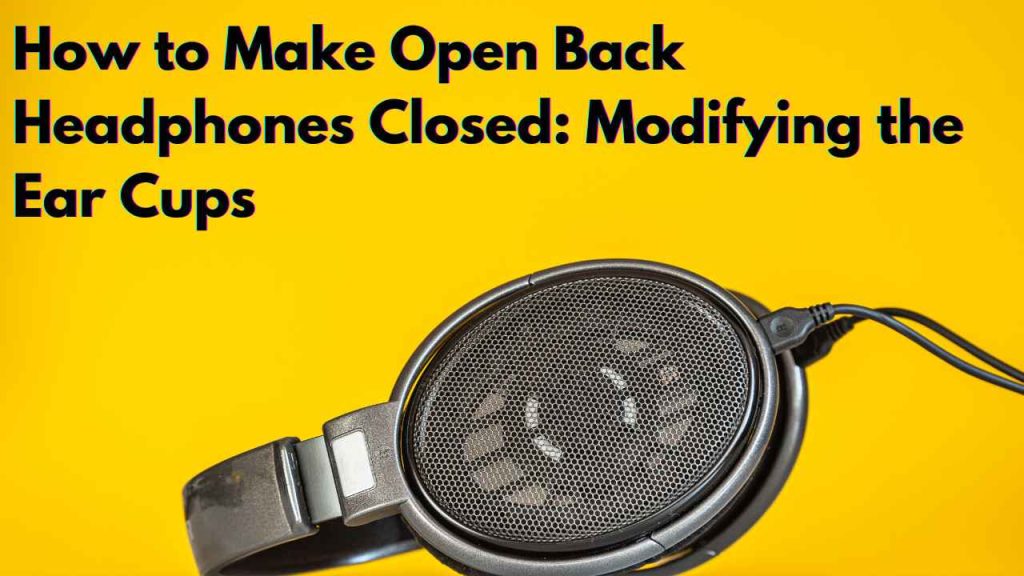
This method involves physically blocking the sound leakage from the ear cups by using materials like acoustic putty or insulation tape.
While it can be effective in reducing sound leakage, it may also impact the overall comfort and fit of the headphones.
Step-by-Step Guide for Modifying the Ear Cups
- Gather Required Materials: The materials you will need include acoustic putty or insulation tape, a knife or scissors, and a pair of gloves.
- Prepare Your Work Area: Ensure your headphones and work area are clean. Dust or dirt can affect the adhesive quality of the materials used.
- Cut Acoustic Putty or Insulation Tape: Depending on the material you are using, cut it into strips or pieces that will fit the open areas of your ear cups.
- Apply the Material: Using gloves to avoid fingerprints or oils on the material, apply the acoustic putty or insulation tape to the open areas of the ear cup. Make sure the material covers the area completely and sticks securely.
- Mold the Material: If using acoustic putty, mold it around the ear cup to ensure it fits and adheres properly. For insulation tape, press it down firmly to make sure it stays in place.
- Let it Dry/Settle: Allow the material to dry or settle, if necessary, according to the manufacturer’s instructions.
- Test the Sound: Lastly, test the sound of your newly modified headphones. Pay attention to any changes in sound quality and noise isolation.
Remember, while this method can be effective, it may alter the comfort and fit of the headphones.
Furthermore, be careful when applying materials to your headphones, as some substances could potentially damage them. Always follow the manufacturer’s instructions for any materials used.
Method 4: Using Noise Isolating Accessories
If you prefer not to permanently modify your headphones, using noise isolating accessories can be a convenient solution.
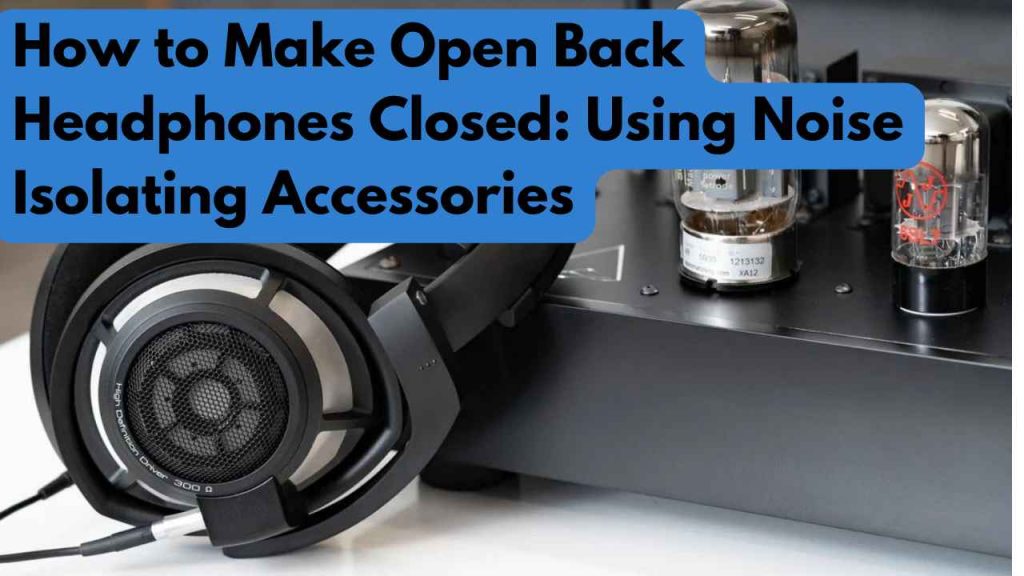
There are various accessories available in the market, such as ear cushions with built-in sound barriers or attachable noise isolation cups.
These accessories can be easily added to your open back headphones, providing effective sound isolation without permanently altering the original design.
Step-by-Step Guide for Using Noise Isolating Accessories
- Identify Suitable Accessories: Research and find noise isolating accessories that are compatible with your headphones. These could include ear cushions with built-in sound barriers or attachable noise isolation cups. Ensure the accessories have good reviews and are from a reliable manufacturer.
- Purchase the Accessories: Once you’ve identified the right accessories, purchase them. Make sure to check the product’s quality before buying.
- Attach the Accessories: Follow the manufacturer’s instructions to attach the accessories to your headphones. This usually involves fitting the accessories over or around the ear cups of the headphones.
- Ensure Secure Attachment: After attaching the accessories, ensure they’re secure and fit snugly.
- Test the Sound: Finally, test the sound isolation of your headphones by playing some music. Note any changes in sound quality and noise isolation.
Remember, while this method is simple and reversible, the effectiveness of the sound isolation will depend on the quality of the accessories used.
Therefore, it’s recommended to use premium quality accessories to achieve the best sound isolation possible.
Benefits of Converting Open Back to Closed Back Headphones
Converting open back headphones to closed back headphones offers several advantages:
Enhanced Sound Isolation:
Closed back headphones provide better sound isolation than open back models. This means that less ambient noise filters in, allowing for a more immersive listening experience.
With closed back headphones, you can fully immerse yourself in your favorite music or audio without any distractions from the outside world.
Whether you’re in a noisy coffee shop or on a crowded train, the closed back design ensures that you hear every detail of your audio with crystal-clear clarity.
Reduced Sound Leakage:
This conversion can help reduce sound leakage, which is beneficial if you don’t want to disturb others around you with your music or audio.
Closed back headphones create a seal around your ears, preventing sound from leaking out and bothering the people around you.
So you can enjoy your music at higher volumes without worrying about disturbing your co-workers in the office or fellow passengers on your daily commute.
Improved Bass Response:
Closed back headphones are typically known for their enhanced bass response. If you’re a fan of bass-heavy music, this change could improve your listening experience.
The closed back design allows for better control and precision in reproducing low-frequency sounds, resulting in a more impactful and immersive bass experience.
Whether you’re listening to hip-hop, EDM, or any genre that relies on deep bass, closed back headphones will deliver the powerful low-end frequencies that make your music truly come alive.
Versatility:
Closed back headphones are generally more versatile. They’re suitable for a range of settings, from quiet libraries to noisy commutes.
With closed back headphones, you can easily transition between different environments without compromising on audio quality.
Whether you’re studying in a library, working in a bustling cafe, or commuting on a noisy train, closed back headphones provide the versatility to adapt to any situation and deliver a consistent and enjoyable listening experience.
Cost-Saving:
Instead of investing in a new pair of closed back headphones, converting your existing open back headphones can be a cost-effective solution, especially if you already own a high-quality pair.
By converting your open back headphones to closed back, you can enjoy the benefits of enhanced sound isolation, reduced sound leakage, improved bass response, and versatility without the need for a new purchase.
This not only saves you money but also allows you to continue using the headphones you already love and are familiar with, while still enjoying the advantages of closed back design.
Modified vs. Commercial Closed-Back Headphones
While modifying open-back headphones to closed-back can be an interesting DIY project, it’s essential to compare the results with commercial closed-back headphones.
Sound Quality:
Although DIY modifications can enhance sound isolation and reduce noise leakage, the sound quality may differ from commercial closed-back headphones.
Commercial closed-back headphones are designed with advanced technology to deliver high-quality sound while maintaining superior noise isolation.
Comfort:
Commercial closed-back headphones are scored high for comfort, with soft, ergonomically-designed ear cups and adjustable headbands.
DIY modifications, while effective in reducing noise, may compromise the comfort depending on the materials used.
Cost-effectiveness:
DIY modifications could be a cost-effective solution for those who already own open-back headphones and want to experiment with closed-back without making a new purchase.
However, the cost of commercial closed-back headphones has become more affordable in recent years, with a variety of options available to suit various budgets.
Durability:
Commercial headphones are built to last, manufactured with durable materials and designed for everyday use.
DIY modifications, on the other hand, may not provide the same level of durability and may require frequent adjustments or replacements.
In short, while DIY modifications can be a fun and inexpensive way to experiment with sound isolation, commercial closed-back headphones offer superior sound quality, comfort, and durability.
Troubleshooting Common Issues with Closed Back Headphones
Closed back headphones come with their own unique set of challenges. Here are some common issues that you might face, along with potential solutions:
Discomfort with Long Use:
Some users may experience discomfort with closed back headphones after extended periods of use.
This is often attributed to the tight seal around the ears, which can create pressure. To alleviate this, it is recommended to take regular breaks to relieve the pressure and allow the ears to breathe.
Additionally, choosing closed back headphone models with comfortable and breathable ear padding can enhance long-term comfort.
Overheating:
The closed back design of headphones can sometimes lead to overheating of the ears. The seal created by closed back headphones may restrict airflow, causing the ears to become warm or even sweaty during extended use.
To prevent overheating, it is advisable to opt for headphones made with breathable materials that allow proper ventilation and heat dissipation.
Audio Quality:
In terms of sound quality, some users may feel that closed back headphones do not offer the same level of audio fidelity as open back models, particularly when it comes to soundstage.
Soundstage refers to the perception of the spatial positioning of sound sources. To enhance the audio quality of closed back headphones, one can invest in high-quality models known for their excellent soundstage performance.
Alternatively, using an equalizer to make personalized adjustments can also improve the overall audio experience.
Less Natural Sound:
Closed back headphones can sometimes create a sensation of sound being confined within the head, rather than a more expansive and natural soundstage.
One way to mitigate this is by using an amplifier with a crossfeed function. Crossfeed blends the left and right audio channels to simulate the natural acoustic presence and provide a more immersive and realistic sound experience.
By incorporating an amplifier with this feature, the ‘in your head’ feeling can be reduced, resulting in a more enjoyable listening experience.
Tips for Making the Most of Your Molded Headphones
Molded headphones can provide a superior listening experience if utilized properly. Here are some tips to ensure you get the most out of your molded headphones:
Proper Insertion:
Ensure the headphones are inserted correctly in your ears. This not only improves sound quality but also ensures they stay securely in place, preventing them from falling out during activities like exercise or commuting.
Clean Regularly:
Like any other ear device, molded headphones can accumulate wax and dirt over time. Regular cleaning ensures optimal performance and longevity.
Use the Right Ear Tips:
Most molded headphones come with different sizes of ear tips. Choose the one that fits you best for a comfortable and snug fit, enhancing sound quality and isolation.
Proper Storage:
When not in use, store your headphones in a safe, clean case to prevent damage or dirt accumulation. Avoid tangling the cord to prolong its lifespan.
Adjust the Volume Sensibly:
To protect your hearing, avoid listening at excessively high volumes for prolonged periods.
Break Them In:
Like other audio devices, molded headphones often need a ‘break-in’ period for optimal performance.
Don’t be too quick to judge the sound quality right out of the box. Give them some time to reach their full potential.
By following these tips, you’ll ensure your molded headphones deliver the best possible sound quality and last for a long time, providing you with a great listening experience.
Frequently Asked Questions (FAQs)
What are the best materials for ear pads in closed back headphones?
The best materials for ear pads are typically those that are breathable and comfortable, such as memory foam or velour. These materials allow for adequate ventilation, which can help prevent overheating during extended use.
How long should the ‘break-in’ period be for molded headphones?
The ‘break-in’ period can vary depending on the specific model of the headphones. On average, it’s recommended to use the headphones for around 40-50 hours before judging their sound quality.
How can I clean my molded headphones?
Use a soft, dry cloth to wipe the exterior of the headphones. For the ear tips, consider using a cleaning tool or a soft brush to remove any accumulated wax or debris. Remember to always check the manufacturer’s instructions for cleaning to avoid damaging your headphones.
Can I convert any pair of open back headphones to closed back?
Not all open back headphones can be easily converted to closed back. The feasibility of conversion largely depends on the design of the headphones and the availability of conversion kits or materials compatible with that specific model.
What can cause discomfort when using closed back headphones for extended periods?
The closed design of these headphones can cause pressure build-up around the ears, leading to discomfort over time. This can be alleviated by taking regular breaks and choosing models with breathable, comfortable ear padding.
Conclusion:
In conclusion, both closed back and molded headphones have unique advantages and potential challenges.
The choice between these two largely depends on your personal preferences, usage scenarios, and comfort considerations.
For some, the sound isolation and bass response of closed back headphones may be more appealing, while others may prefer the personalized fit and comfort offered by molded headphones.
Regardless, with the proper maintenance, usage, and adaptation strategies, both types of headphones can deliver an excellent audio experience. Always remember to prioritize your comfort and hearing health, and don’t hesitate to seek professional advice when needed.
